
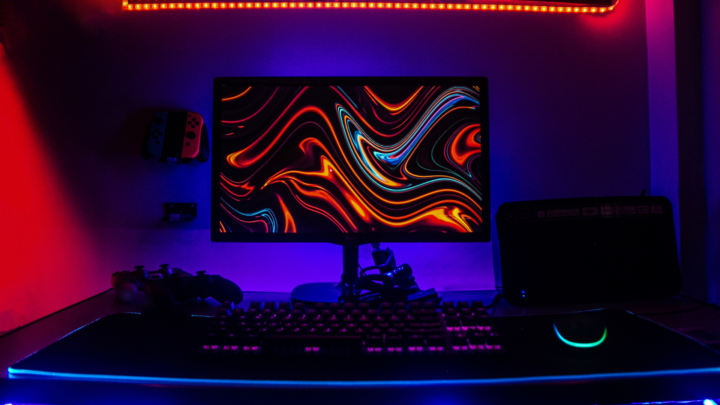
Building a gaming PC can be an exciting and rewarding endeavor. To get started, it’s essential to choose the right components that will meet both performance and budget needs. From selecting a powerful graphics card to ensuring sufficient RAM, each part plays a crucial role in creating a smooth gaming experience.
Many enthusiasts enjoy customizing their builds to enhance performance, aesthetics, and longevity. With careful research and planning, anyone can assemble a gaming PC that not only showcases their personal style but also delivers the capability to run the latest games at high settings.
The process may seem daunting at first, but with the right guidance, it becomes manageable. Knowing how to connect and configure each component will empower anyone to create a setup tailored to their gaming preferences.
Planning Your Gaming PC Build
Planning a gaming PC build requires careful consideration of budget, performance goals, and component compatibility. A well-structured approach will help ensure that the final setup meets the user’s gaming performance expectations without overspending.
Determining Your Budget and Performance Goals
Establishing a budget is crucial in the PC building process. The range can vary widely, typically from $500 for a budget gaming PC to $2,000 or more for a high-end gaming PC build. Understanding how much money is available helps narrow down components.
Performance goals should match the intended gaming use. Casual gamers might prioritize lower-end components, while competitive gamers need high-performance parts to ensure smooth gameplay. Define the desired resolution and frame rates for the target games to guide the decisions.
Choosing the Right Components
Selecting components requires careful research. Key parts include the CPU, GPU, RAM, motherboard, SSD, and power supply.
- Processor (CPU): Look for models that balance performance and value. Popular choices include AMD Ryzen and Intel Core series.
- Graphics Card (GPU): This is vital for gaming performance. Choose one based on gaming needs, such as NVIDIA GeForce or AMD Radeon.
- Memory (RAM): Aim for at least 16GB for modern gaming. Higher speeds can improve performance.
List components based on their performance benchmarks and reviews to ensure the best choices for your needs.
Understanding Compatibility Between Components
Compatibility checks are essential to avoid issues during assembly. Ensure the motherboard supports the chosen CPU and GPU. Look for the following:
- Socket Type: The processor’s socket must match the motherboard.
- Form Factor: Ensure the case can accommodate the motherboard size, often ATX or microATX.
- Power Supply (PSU): The PSU should provide sufficient wattage for all components. A quality PSU is key for system stability.
Using online compatibility tools or guides can simplify this process. Proper compatibility reduces the risk of costly mistakes and ensures that each component functions effectively within the build.
Assembling Your Gaming PC
Assembling a gaming PC involves several important steps, starting from the preparations to installing the operating system. This process requires specific tools and a methodical approach to ensure a successful build.
Preparation and Tools
Before beginning assembly, the individual should gather necessary tools. Key items include a screwdriver (preferably magnetic), thermal paste for CPU cooler installation, and anti-static wrist straps to prevent damage to components.
A clear, organized workspace helps streamline the build. The user should have all components ready: CPU, motherboard, RAM, GPU, power supply, and storage drives. Reviewing the manuals for each part beforehand can provide vital guidance during assembly.
Step-by-Step Assembly Guide
- Install the CPU: Open the CPU socket on the motherboard, align the CPU correctly, and gently press it into place without forcing it.
- Add Thermal Paste: Apply a small pea-sized amount of thermal paste on the CPU surface before attaching the CPU cooler. This ensures efficient heat transfer.
- Mount the CPU Cooler: Secure the CPU cooler following its instructions. This component is crucial for managing the CPU temperature.
- Install RAM: Insert RAM sticks into the designated slots on the motherboard. Ensure they are fully seated with a click sound.
- Prepare the Case: Install standoffs in the case for motherboard mounting. Place the motherboard in the case, aligning it with standoffs, and secure it with screws.
- Install the GPU: Insert the GPU into the appropriate PCIe slot. Secure it with screws.
- Connect Power Supply: Position the power supply in its spot and connect the necessary cables to the motherboard, GPU, and drives, ensuring neat cable management for airflow.
- Install Storage Drives: Secure SSD or HDD in their bays and connect them to the motherboard and power supply.
Installing the Operating System
After successful assembly, it’s time to install an operating system. Users can choose between Windows 10, Windows 11, or Linux depending on their preferences and gaming needs.
To install, the user should download the OS image on a USB drive. Boot the PC while pressing the designated key for BIOS/UEFI. Select the boot device to start the OS installation process.
Follow on-screen prompts to complete the installation, including partitioning the drive and customizing setup options. Ensure that all drivers are updated after installation for optimal performance.
Optimizing and Overclocking
Once the OS is installed, fine-tuning the system can enhance performance. Start by updating all drivers, particularly for the GPU and motherboard.
To overclock, access the BIOS/UEFI settings. Raise the CPU multiplier or adjust the base clock. It’s critical to monitor temperatures to avoid overheating.
Utilize software tools to benchmark performance improvements and stability. Include cable management in the build to enhance airflow and cooling efficiency, contributing to overall system performance.
Enhancing Your Gaming Experience
Upgrading peripherals and optimizing cooling can significantly elevate gaming performance. The right setup not only improves responsiveness but also contributes to longer play sessions without overheating.
Selecting the Right Peripherals
Choosing high-quality peripherals is crucial for an immersive gaming experience. A gaming monitor with a high refresh rate (144Hz or higher) reduces motion blur and enhances visual clarity. Resolution matters too; 1080p is standard, while 1440p or 4K provides stunning visuals.
A gaming mouse with customizable DPI settings ensures precision in fast-paced games. Look for ergonomic designs to maximize comfort during extended sessions. Keyboards are also important; mechanical switches offer tactile feedback that enhances gameplay.
Investing in a good headset adds another layer to the experience. Surround sound gives a sense of immersion, helping players pinpoint sounds within the game environment.
Tuning for Better Performance and Cooling
Proper cooling is essential for maintaining performance during intense gaming sessions. A CPU cooling system can be air or liquid-based. Liquid cooling is often more efficient, reducing temperatures significantly, while air coolers are simpler and easier to install.
Regular maintenance of system cooling components, like fans and vents, prevents dust buildup, ensuring optimal airflow. Consider adding case fans if necessary.
Optimizing software settings can also improve performance. Keep drivers updated and configure game settings for a balance between visuals and performance. This ensures smoother gameplay without straining the system.
By focusing on these enhancements, players can create a personalized gaming environment that maximizes enjoyment and minimizes technical issues.